We continue to be hugely impressed with the Advanced Custom Fields WordPress plugin which we first wrote about last year.
The latest paid-for field type which has been rolled out is one called the Flexible Content Field. On the surface it looks a little bit baffling, but on closer examination we think it could be a bit of a game-changer when it comes to devising modular, flexible layouts.
There are a number of possible applications for this particular bit of functionality, but the one we’ll look at briefly today is how you’d use it to create a simple but flexible modular landing page. By “modular”, I mean the system will be able to pull page contents from anywhere in the site tree and display pertinent bits on the landing page.
The mindset to get into when using the FCF in this instance is that you are creating a layout where each row can have a defined set of columns. The plugin allows you to add as many new rows as you need – you just need to define the number of columns in a new row, and how these will be laid out.
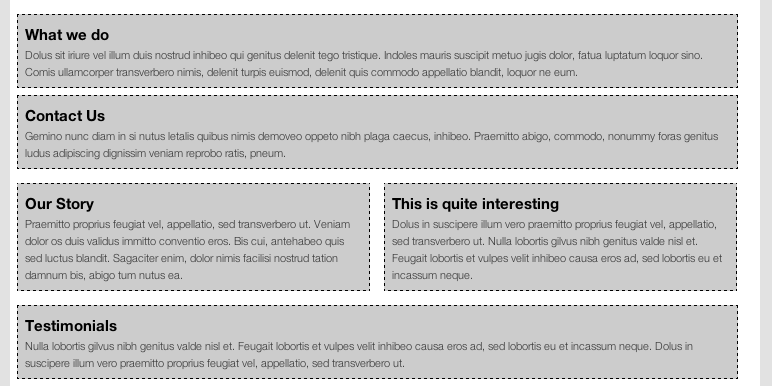
Here’s an example – row 1 is one column, row 2 is two columns, row 3 is one column, row 4 is a 1/3 and 2/3 column…and so on
 So…let’s look at how you’d make this happen.
I’m working on the assumption you’ve got ACF installed, and also that you’ve paid the (measly) $25 AUD for the Flexible Content Field addon…
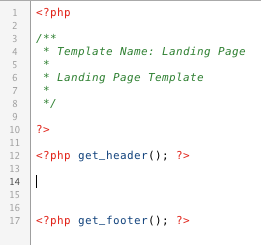
First up: create a new template. Mine is named “Landing Page”:
Next: go into Custom Fields, add a new field group and then add a new field with the type as “Flexible Content”. We’ll create our 1-column option first and then get more fancy in a moment. So – add a field in the Layout section and give it a useful name (mine is called “full_column_1col”..) – and give it type “Post Object”.
Here’s what things should look like so far (click for larger version):
Now change the Location Rules so that these options are only shown when the page template matches the name of the template you created above. I’ve also turned off the standard content editor and other fields, but you can choose depending on your particular needs.
Right, save that – now let’s see how this looks in the content editor so far. Head across to Pages > Add New – and then once the editor comes up, change the Template dropdown to select your template name. The contents of the page should refresh and you’ll see something like this:
Click “Single Column” and you’ll see that a new row has been created. Because we selected “Post Type” there will be a dropdown showing all the relevant pages / posts on your site:
Select one, and then click “Add Row” again – and you’ll see that you can continue to add as many new rows as you need. At the moment of course we’ve only got one row type – our Single Column – but we’ll sort that in a minute. One other thing to notice is that if you move your mouse over to the row number on the left, you can drag-drop the rows..
Alright – so what’s going on at the front end? Well, so far – nothing – but let’s slap in some PHP on our template to loop through the flexible fields (image links to pastebin code..):
Save it and refresh – now the page looks something like this (I’ve added a smidgin of css to make things a bit clearer):
Right, now lets go back into the custom fields screen and add another row type. Do this by clicking “Add New” in the Layout box. This time, I’ve created a two column row – do it exactly as before but obviously this time we have two sub-fields, one for the left hand column and one for the right…
Careful naming helps a lot here – both from a usability point of view, but also when it comes to doing the PHP in the template.
Save stuff and then hop back into the page you were editing previously and you’ll see that if you click “Add Row” this time, you’ll be presented with two options – one for a single column row, and one for the two column row you just created:
Now we’ve done that, let’s add the code to deal with this. Again it’s over on Pastebin – forgive the rough nature of the code and the CSS, I realise it could be much slicker. Refresh the page and hey presto…
In my code example I’ve shown just the post title and excerpt – but obviously you could pull out any of the pertinent data associated with that post or page: images, author, date, etc.. – not to mention pulling in custom fields.. :-)
This is a very simple example but I hope gives some sense as to how these fields might be used to provide your site editors with loads of flexibility. Possible ways this could be improved include:
- having an option to set the width of columns dynamically within each row (watch out, grid fans..!)
- including custom style options so that background colours or other styles could be changed and added to on the fly
- using this approach for newsletter layouts rather than page layouts (then copy / paste into MailChimp etc)
…and so on.


